
8
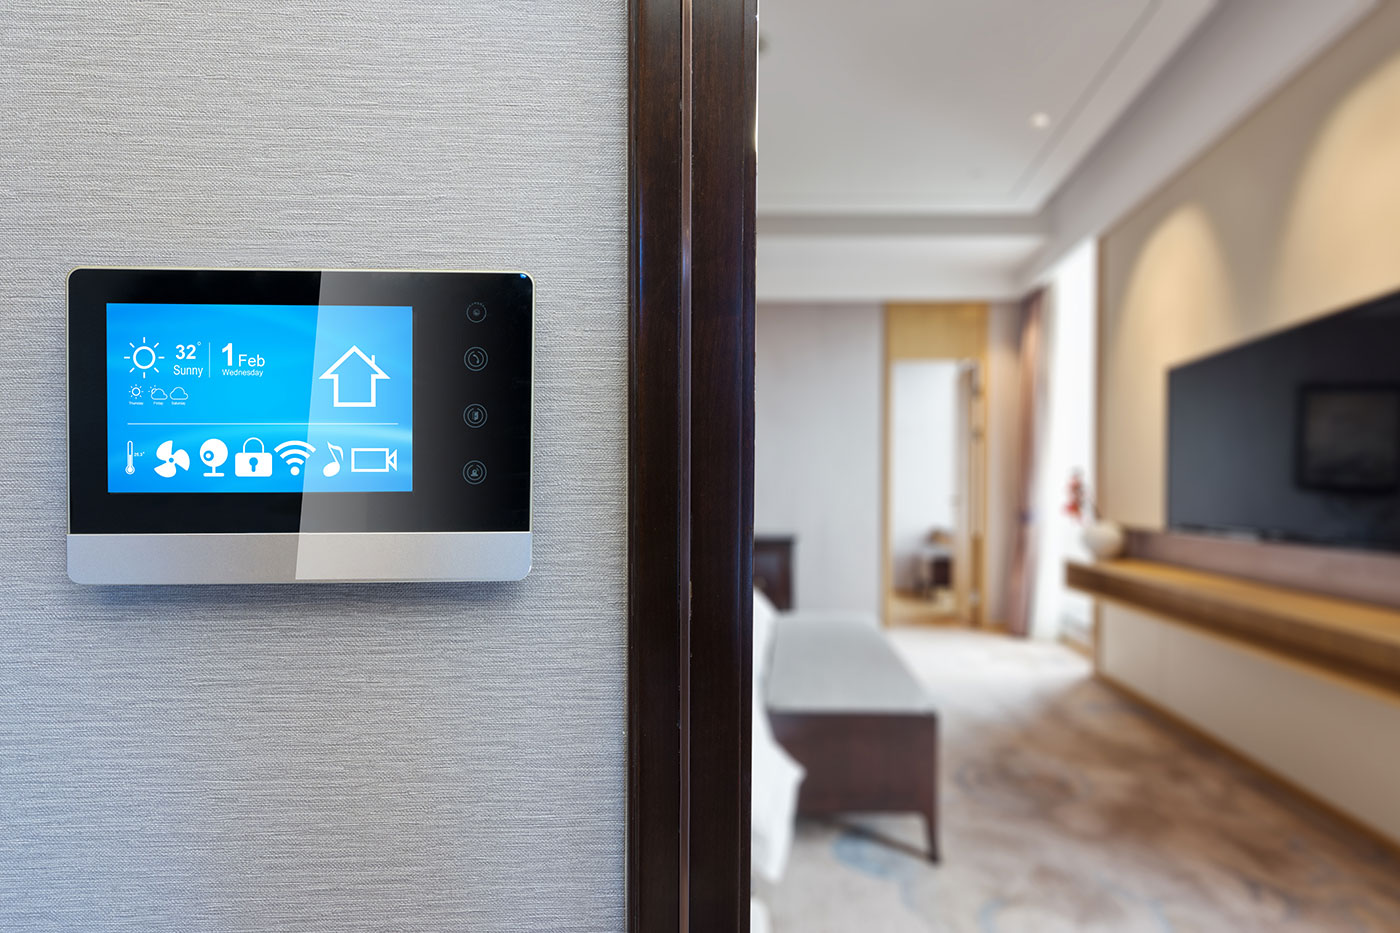
Most homeowners treat a heating system as a collection of heavy mechanical equipment tucked away in basements, crawlspaces, or utility closets. They invest thousands of dollars in high-efficiency furnaces, heat pumps, and multi-stage blowers, expecting immediate comfort and lower monthly utility bills. Yet the component that dictates how all of that expensive machinery behaves is a small plastic box mounted quietly on the wall.
A thermostat acts as the brain of your heating, ventilation, and air conditioning setup. It samples the surrounding air, compares that reading to your desired target, and signals the furnace to fire up or shut down. If that reading is distorted by even two or three degrees, the entire system operates on bad data. The result is a home plagued by persistent cold spots, excessive humidity swings, short-cycling equipment, and inflated energy costs. Ensuring your thermostat sits in the ideal physical location is one of the most effective ways to restore balance and efficiency to your heating system.
The Mechanics of False Temperature Readings
To understand why placement matters, you have to look at how modern thermostats gauge room conditions. Inside the housing sits an electronic temperature sensor, typically a thermistor, designed to detect subtle shifts in electrical resistance as ambient temperatures fluctuate. These sensors are remarkably sensitive, but they have zero context. A thermostat cannot tell whether warmth is coming from a properly heated living area, a ray of afternoon sunlight hitting its plastic faceplate, or residual heat radiating off a nearby refrigerator coil.
When a thermostat encounters an artificial heat pocket, it registers a false high reading, known in the HVAC trade as a ghost reading. The unit assumes the entire house is comfortably warm and shuts the furnace down prematurely. While the room housing the thermostat feels warm, distant bedrooms and living spaces remain drafty and frigid.
The reverse scenario is equally destructive. If a thermostat sits in an artificially chilly zone, such as an uninsulated exterior wall or an entryway subjected to frequent gusts of winter air, it registers a false low reading. The furnace runs continuously to warm up a localized pocket that will never stabilize, driving up your energy bills and wearing down blower motors and heat exchangers long before their expected service lifespan.
The Gold Standard: Where Your Thermostat Belongs
Finding the ideal mounting location requires balancing three essential variables: height, wall composition, and natural household airflow.
Interior Walls in Central Living Areas
Your thermostat must always be mounted on an interior wall. Interior partition walls—such as those separating a living room from a hallway or an interior dining space—are insulated from outdoor weather extremes. Unlike exterior-facing walls, their temperature closely tracks the actual conditioned air circulating inside the living envelope.
The best room for the primary unit is a central, frequently occupied area, such as a main living room, family room, or a wide central hallway that connects primary living zones. Placing the unit where people naturally congregate ensures that the equipment prioritizes comfort in spaces that actually matter throughout the day, rather than in peripheral spaces that remain vacant for hours.
The Five-Foot Height Rule
Thermal stratification is an unavoidable law of physics: warm air naturally expands and rises toward the ceiling, while colder, denser air settles along the floor. In rooms with standard eight- or nine-foot ceilings, the temperature difference between the carpet and the ceiling plaster can easily span three to six degrees Fahrenheit.
Mounting a thermostat too close to the floor tricks it into thinking the room is perpetually freezing. Mounting it too high places it directly in the ceiling heat layer, causing the furnace to shut off before the warmth reaches couch height. The industry-standard recommendation is to position the center of the mounting plate between 48 and 60 inches from the floor. This height puts the sensor directly at the average breathing line of seated or standing adults, capturing the exact air temperature human occupants feel.
Balanced Natural Circulation
A reliable thermostat location features gentle, unobstructed air movement. You want air that circulates naturally as occupants move throughout the home, carrying a representative blend of temperatures from room to room. Wide interior corridors, open-concept living spaces, and central transition zones provide this ambient airflow without forcing high-velocity drafts across the face of the sensor.
Red Zones: Where Never to Install a Thermostat
Knowing where to avoid mounting your thermostat is just as critical as finding the proper wall. In older homes or rushed construction projects, builders frequently placed thermostats wherever wiring was most convenient rather than where thermal readings were most accurate.
Direct Sunlight and Radiant Heat Paths
Never install a thermostat where direct sunlight can strike the casing during any part of the day. Even a narrow beam of sunlight slipping through a south- or west-facing window can heat the internal thermistor by five to ten degrees within minutes. The thermostat will interpret this concentrated solar gain as an overheated house, shutting off the furnace while the rest of the building shivers.
Similarly, steer clear of radiant heat sources. Mounting a thermostat within several feet of a working fireplace, an oven, a heavy entertainment center, or large floor lamps creates localized microclimates. Electronic devices like gaming consoles, audio receivers, and high-wattage televisions emit steady convective heat plumes that rise directly into sensors mounted above them.
Supply Registers and Return Grilles
Forced-air heating systems push conditioned air into rooms through supply registers and pull stale air out through return grilles. Positioning a thermostat directly above or opposite a supply vent exposes it to a direct wash of heated air the instant the furnace ignites. The sensor satisfies its setpoint in two minutes, triggering a rapid shutdown, only to restart three minutes later as cool ambient air rushes back in. This cycle, known as short-cycling, severely stresses the blower capacitor and significantly degrades system efficiency.
Return grilles present the opposite problem. While return ducts collect blended air, the localized air velocity directly in front of a return vent can create convective cooling across the thermostat case, causing delayed responses and erratic temperature tracking. Keep the unit at least three to four feet away from any heating vent or return register.
Kitchens, Bathrooms, and Mudrooms
Kitchens generate intense, rapid spikes in heat and humidity from range burners, ovens, dishwashers, and food preparation. Bathrooms produce concentrated steam clouds that distort relative humidity and elevate surrounding ambient heat. Mudrooms and entryways experience frequent thermal shock whenever an exterior door opens to winter winds. None of these environments reflect the steady baseline conditions of your living areas.
Exterior Walls and Cold Draft Cavities
Mounting a thermostat on an exterior wall is a recipe for system imbalance. Even well-insulated modern exterior walls conduct outdoor cold through structural studs via thermal bridging. During a January freeze, the drywall surface of an exterior wall can sit several degrees below the actual temperature of the room air. A thermostat mounted there constantly over-fires the heating system to compensate for the cold drywall backing.
There is another, often invisible issue inside the wall itself: the wire access hole. When an installer pulls low-voltage thermostat wiring through drywall, they drill a hole directly into the wall cavity. Unsealed interior walls can act like miniature flues, pulling cold drafts upward from an unheated basement or crawlspace directly onto the back of the thermostat plate. Even if your room is 70 degrees, a 55-degree draft bleeding through the drywall hole will corrupt the internal sensor.
Special Considerations for Multi-Story Homes
Heating a multi-story home with a single, centrally located thermostat is one of the most frustrating challenges in residential HVAC management. Because heat rises naturally, upper floors consistently run warmer than lower levels, while basements and ground floors remain cold.
When a home relies on a single heating zone, installing the thermostat on the second floor usually starves the main floor of heat. The rising warmth keeps the second-floor sensor satisfied, leaving the family room downstairs chilly. Conversely, placing the thermostat on the first floor often causes the furnace to run until the living room is comfortable, turning upstairs bedrooms into saunas.
If your home operates on a single zone without duct dampers, placing the thermostat in the lower half of the home—typically on the main living level—is usually the lesser of two evils. You can then partially close supply dampers in upstairs rooms to balance the distribution of warm air.
For true comfort, the modern solution involves either a zoned duct system with dedicated thermostats on each level, or a smart thermostat paired with wireless remote room sensors. Remote sensors allow you to average readings across multiple rooms or tell the system to prioritize the upstairs sensors exclusively during overnight sleeping hours.
Relocating an Out-of-Place Thermostat
If your current thermostat sits in a red zone, moving it to a central interior wall is well worth the effort. The process involves rerouting low-voltage wiring and patching the abandoned location.
Start by shutting off power to your heating system at the breaker panel or furnace switch. Standard thermostat wiring operates on 24 volts, which presents minimal shock risk, but shorting the power wire to the common or ground wire can instantly blow the low-voltage fuse on your furnace control board.
Once power is confirmed off, remove the faceplate and inspect the wiring bundle. Standard installations use four- to eight-conductor 18-gauge solid copper wire. If you are relocating the unit across an existing interior wall cavity, you may have enough slack behind the wall to guide the bundle to a better stud bay. If you need to move the thermostat into a different room entirely, you will need to fish new 18-gauge wire through your basement, crawlspace, or attic down into the new interior wall.
When cutting the drywall hole at the new location, keep the opening as small as possible. Before securing the mounting base, take a small piece of fiberglass insulation, silicone caulk, or plumber’s putty and pack it firmly around the wire bundle where it emerges from the drywall. Sealing this hole blocks unconditioned drafts hidden within the wall cavity from reaching the sensor plate.
Homeowners who want to avoid cutting into drywall or pulling new cables through finished spaces can explore wireless thermostats or smart units that utilize separate interface modules. These systems connect directly to the furnace board and communicate with a battery-powered wall interface that can be mounted anywhere with basic drywall anchors, bypassing structural wiring limitations entirely.
Maximizing Heating Efficiency and Long-Term System Health
A thermostat is only as reliable as the air it samples. When you position the device on an interior wall, maintain the proper five-foot height, isolate it from drafts and sunlight, and seal the wiring penetration behind the plate, you eliminate the sensory illusions that force your furnace to work against itself.
Correct placement allows your heating system to run steady, predictable heating cycles that thoroughly circulate air without unnecessary wear on internal motors. By taking the time to position your thermostat where it can accurately read the true living conditions of your home, you gain precise temperature control, lower energy usage, and consistent winter warmth from room to room.
